何か簡単なゲームを作りたい。
ボタン連打ゲームはどうやって作るの?
そんなお悩みにお答えします!
ボタン連打ゲームは、開発難易度も低く、個人ゲーム開発初心者が作りやすいジャンルです。
本記事では、Unityで簡単なボタン連打ゲームの作り方をご紹介したいと思います。
また、ハイスコアを保存しゲーム再開時に表示する機能もご紹介します。
環境
Unity バージョン:2020.3.46f1
Unity Hub バージョン:3.7.0
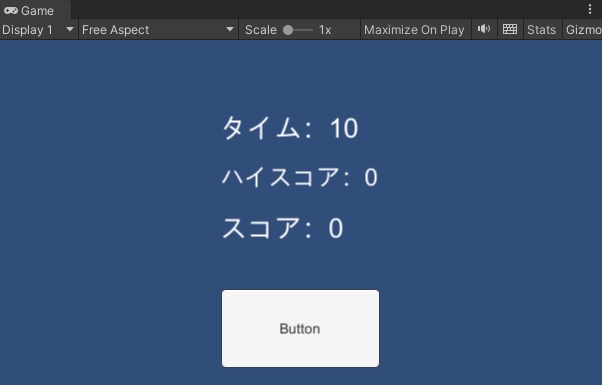
ボタン連打ゲームのゲーム画面
ボタン連打ゲームのゲーム画面はこちらです。
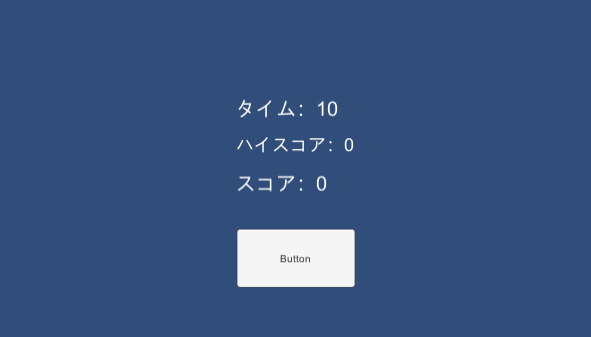
10秒の間にどれだけボタンを連打できるかを競うゲームです。
ハイスコアを保存して、ゲーム再開後にハイスコアを表示できるようにします。
ボタン連打ゲームの作り方
ボタン連打ゲームの作り方は、下記のとおりです。
- プロジェクト作成
- UI作成
- スクリプト作成
- セーブ機能実装
詳細を順番にご説明します。
プロジェクト作成
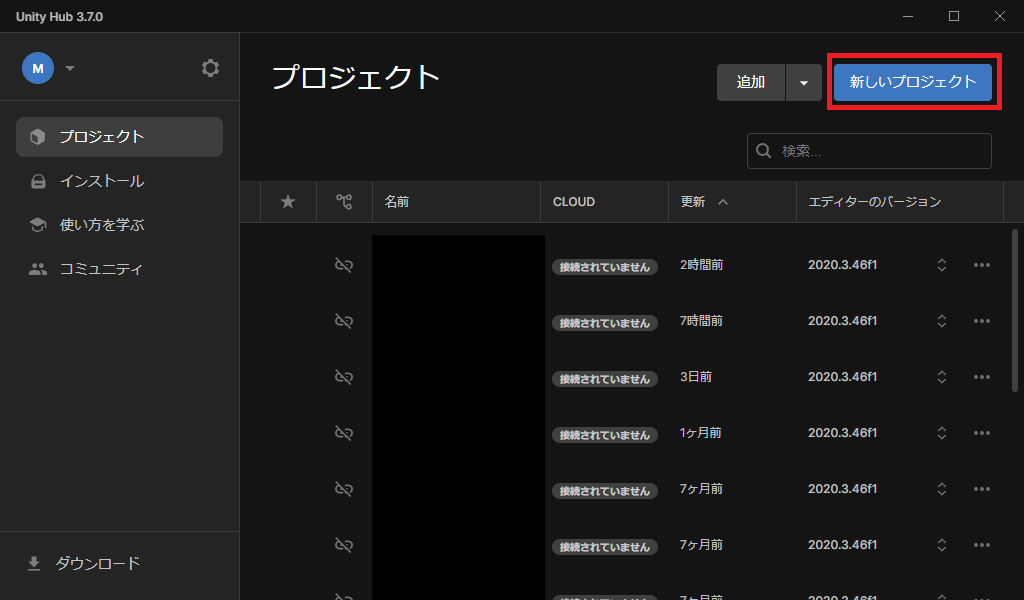
まず、プロジェクトを作成しましょう。
Unity Hubを開いて、「新しいプロジェクト」をクリックしてください。
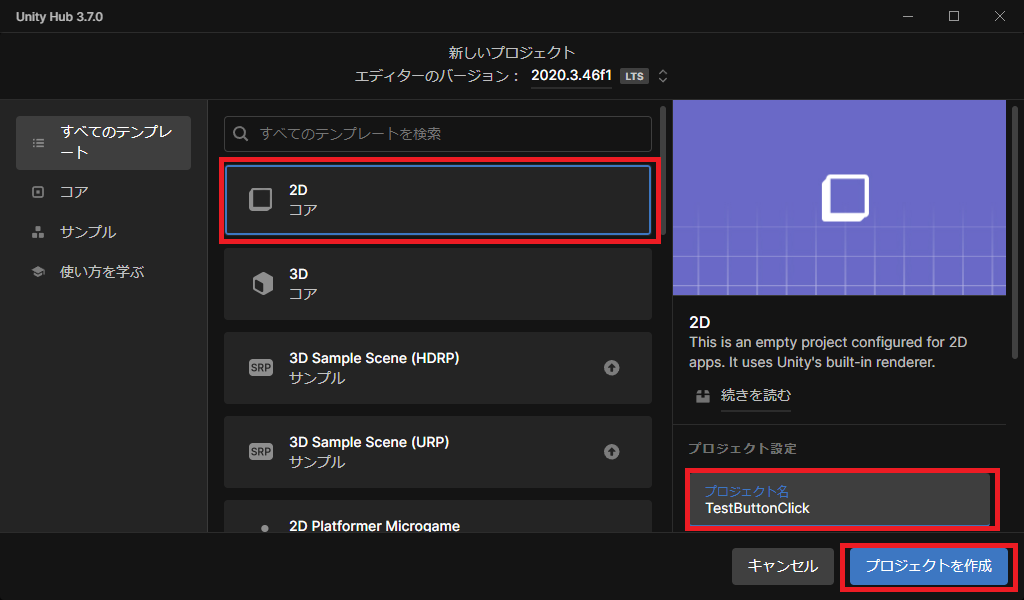
テンプレートは「2Dコア」を選択。
プロジェクト名は「TestButtonClick」とします。
「プロジェクトを作成」をクリックしましょう。
そうすると、Unityエディターが開きます。
プロジェクト画面には「TestButtonClick」が追加されています。


UI作成
まず、Canvasを作成します。
Canvasはボタンやテキストなど各UIを配置する土台となります。
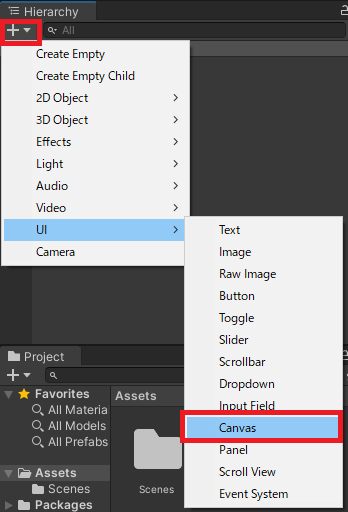
Hierarchy画面左上「+」をクリックし、「UI」→「Canvas」を選択しましょう。
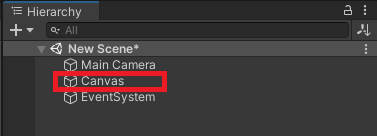
Hierarchy画面に「Canvas」が作られます。
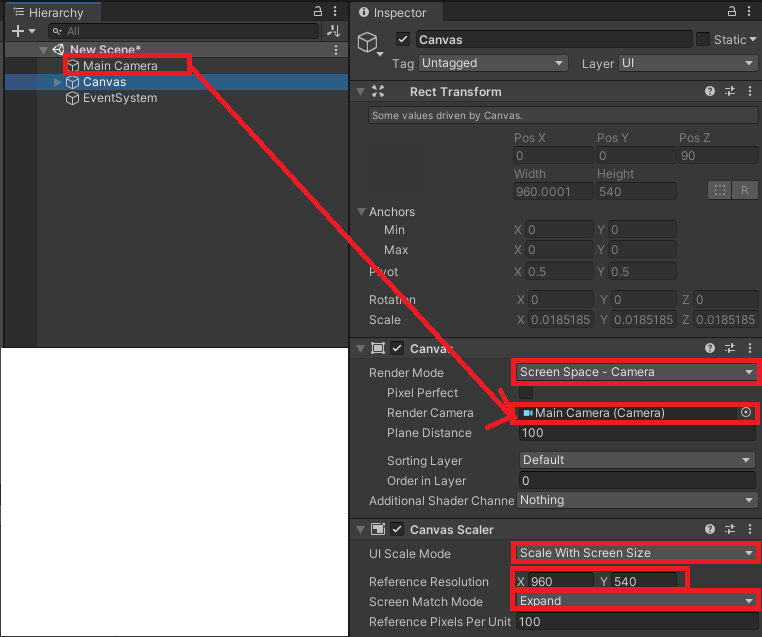
次に、Canvasのサイズを調節しましょう。
現在、Canvasのサイズがゲーム画面に比べてとても大きい状態なので、カメラが移す範囲内に収まるようにします。
「Render Mode」から「Screen Space – Camera」を選択、「Render Camera」にHierarchy画面の「Main Camera」をドラッグ&ドロップします。
あと、今後配置するUIのサイズも調節しましょう。
今回は横幅960、縦幅540の画面サイズを基本として、ゲームを出力時に画面サイズが変更になっても、UIが崩れないようにします。
「UI Scale Mode」から「Scale With Screen Size」を選択、「Reference Resolution」の「X」に「960」、「Y」に「540」を入力、「Screen Match Mode」から「Expand」を選択しましょう。
それではボタンを配置していきましょう。
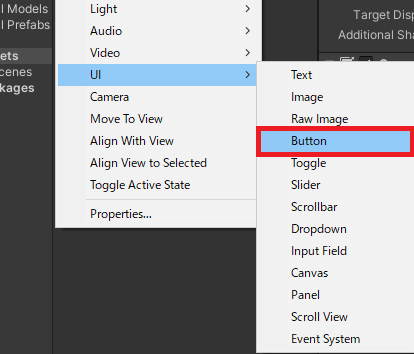
「Canvas」を右クリック→「UI」→「Button」を選択します。
Hierarchy画面に「Button」が生成されます。
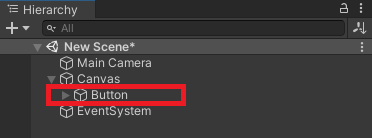
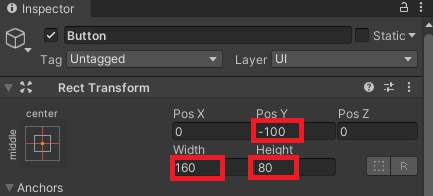
「Button」をクリックすると、Inspector画面に詳細が表示されます。
Pos Yを-100、 Widthを160、 Heightを80 に変更しましょう。
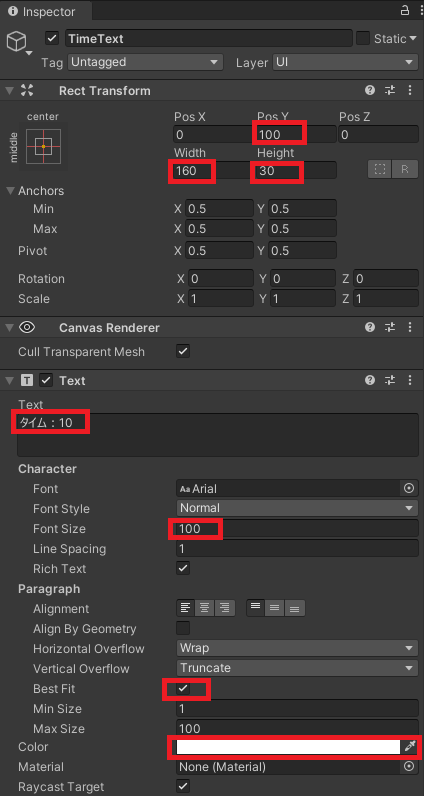
タイム、ハイスコア、スコアの各テキストを配置します。
「Canvas」を右クリック→「UI」→「Text」を選択しましょう。
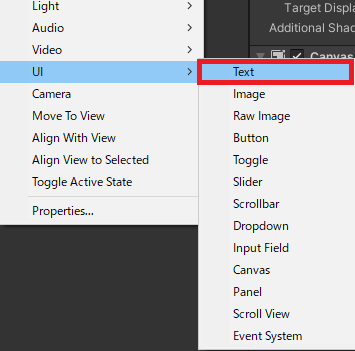
Hierarchy画面に「Text」が生成されます。
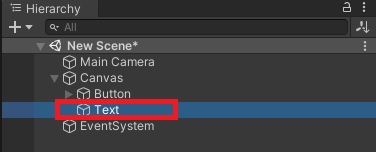
「Text」を右クリック→「Rename」→名前を「TimeText」とします。
「TimeText」をクリックすると、Inspector画面に詳細が表示されます。
Pos Yを100、 Widthを160、 Heightを30、 Textをタイム:10、 Font Sizeを100、 Best Fitにチェックを入れる、 Colarを白 に変更しましょう。
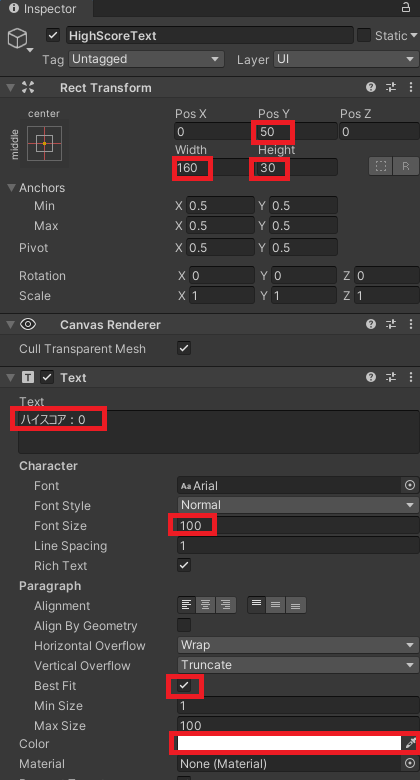
同様に、ハイスコアとスコアのテキストを配置します。
「HighScoreText」のInspector画面は以下の通り入力してください。
「TimeText」との違いは、Pos Yを50、 Textをハイスコア:0 の2点です。
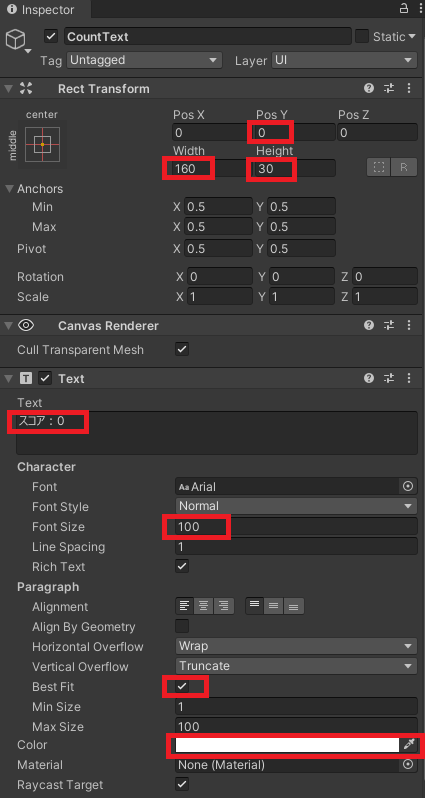
「CountText」のInspector画面は以下の通り入力してください。
「TimeText」との違いは、Pos Yを0、 Textをスコア:0 の2点です。
ここまでの作業で、Hierarchy画面はこちらのようになります。
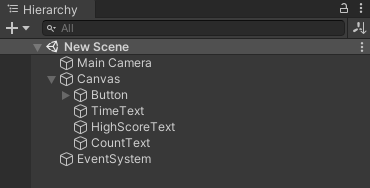
Game画面はこんな感じです。
スクリプト作成
今度はスクリプトを作っていきましょう。
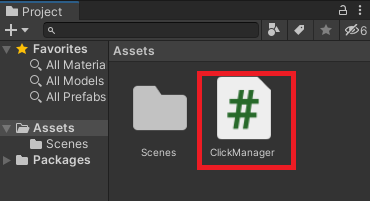
まず、Project画面の「+」をクリック→「C# Script」を選択します。

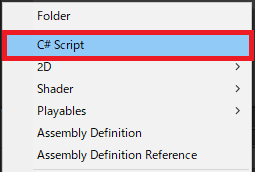
スクリプトファイルが出来るので、名前を「ClickManager」とします。
このファイルに、以下のコードを記述してください。
using System.Collections;
using System.Collections.Generic;
using UnityEngine;
using UnityEngine.UI;

public class ClickManager : MonoBehaviour
{

    //カウント用の変数を用意
    public int count = 0;

    //テキスト型の変数を用意。スコア表示
    public Text countText;

    //float型の変数を用意
    public float time = 10.0f;

    //テキスト型の変数を用意。タイム表示
    public Text timeText;

    //ハイスコア用の変数を用意
    public int highScore = 0;

    //テキスト型の変数を用意。ハイスコア表示
    public Text highScoreText;


    //変数を増やす関数を作成
    public void PushButton()
    {
        //timeが0より上の時
        if (time >0)
        {
            //countを1ずつ増やす
            count++;

            //増えた数字をテキストで表示
            countText.text = "スコア:" + count;
        }
    }

    // Start is called before the first frame update
    void Start()
    {
        // "HIGHSCORE"をキーとして、ハイスコアを取得。値がない場合は0となる
        highScore = PlayerPrefs.GetInt("HIGHSCORE", 0);

        //ハイスコアをテキストで表示
        highScoreText.text = "ハイスコア:" + highScore;
    }

    // Update is called once per frame
    void Update()
    {
        //timeが0以下の時
        if (time <= 0)
        {
            //テキストにカウントダウンの表示をする
            timeText.text = "タイム:0.00";
        }
        else
        {
            //カウントダウンさせる
            time -= Time.deltaTime;

            //テキストにカウントダウンの表示をする
            timeText.text = "タイム:" + time.ToString("f2");
        }

        //ハイスコアを超えた場合に更新
        if (highScore < count)
        {
            highScore = count;
            Debug.Log(highScore);

            //ハイスコアをテキストで表示
            highScoreText.text = "ハイスコア:" + highScore;

            //"HIGHSCORE"をキーとして、ハイスコアを保存
            PlayerPrefs.SetInt("HIGHSCORE", highScore);

            //ディスクへの書き込み
            PlayerPrefs.Save();
        }
    }
}
ハイスコアを保存し、ゲーム再開時に表示するため、Player Prefsを使用しています。
上記の黄色いアンダーバーに相当した部分です。
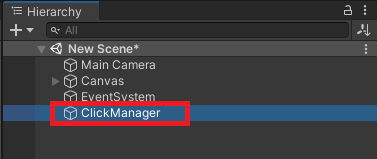
次に、Hierarchy画面の「+」をクリック→「Create Empty」を選択します。
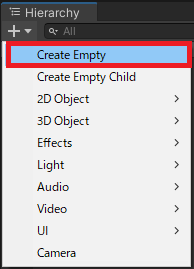
空のゲームオブジェクトが出来るので、名前を「ClickManager」とします。
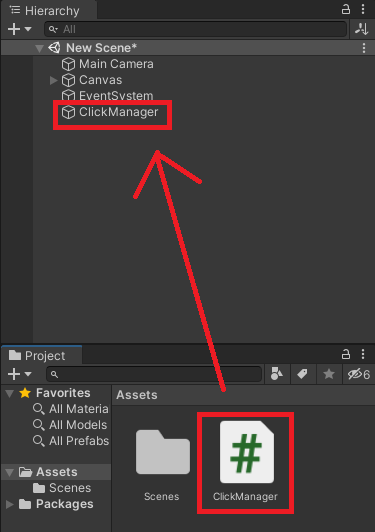
スクリプトファイルをゲームオブジェクトにアタッチします。
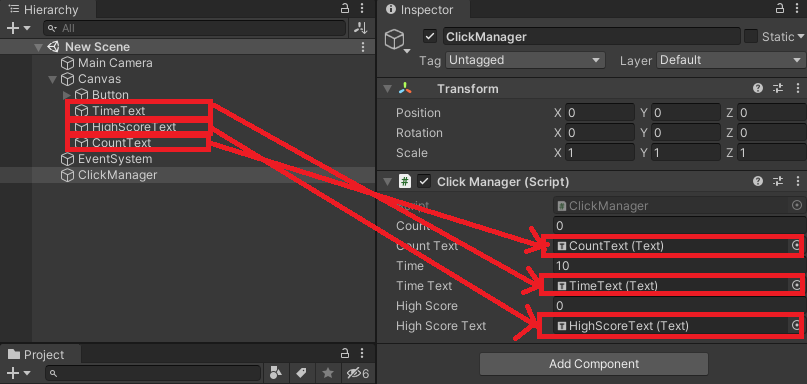
「ClickManager」のInspector画面で、以下の通りそれぞれアタッチしてください。
最後に、ボタンにスクリプトの関数をアタッチしましょう。
「Button」のInspector画面で、「On Click ()」の「+」をクリックします。
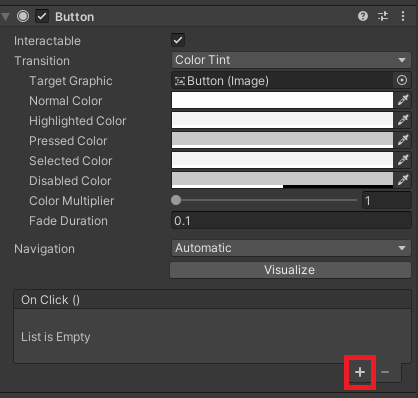
ClickManagerをアタッチします。
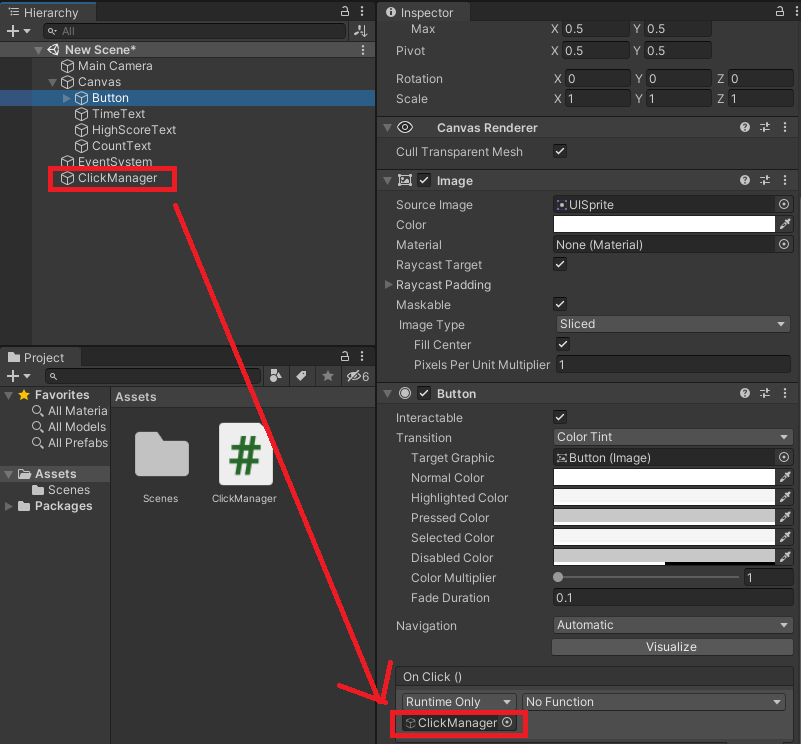
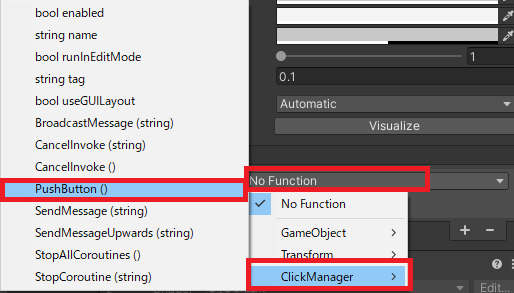
「No Function」→「ClickManager」→「Push Button ()」を選択します。
これで、ボタン連打ゲームが完成しました。
お疲れさまでした。
セーブ機能実装
セーブ機能を実装するには、下記の方法があります。
- Player Prefs
- Easy Save
今回は、Player Prefsを使ってハイスコアを保存しゲーム再開時に表示できるようにしました。
上記、スクリプトの黄色いアンダーバーの部分になります。
一方、Easy Saveは保存できる型が多い、オートセーブができるなど利点が多くあります。
有料ではありますが、個人ゲーム開発初心者にはEasy Saveをおすすめします。
Easy Saveを使ったセーブ機能実装方法については、こちらの記事をご参考ください。
【Unity】ボタン連打ゲームの作り方 ハイスコアを保存する方法 まとめ
本記事では、Unityでボタン連打ゲームの作り方とハイスコアを保存する方法をご紹介しました。
ボタン連打ゲームは比較的簡単に作れるので、個人ゲーム開発初心者にうってつけのジャンルです。
手順どおりにすれば出来るので、ぜひ作ってみてくださいね。
本記事が皆さんの参考になれば幸いです。